Creating a custom AXI IP. The professional way.
Since you are reading this blog, I am pretty sure that you have used an AMD IP in at least one of your designs. Also, if you wanted a so specific IP for a specific project, likely you have bought an IP from a third-party vendor. Creating an IP, using it in your design, and even selling that IP is something that Vivado lets you do even with the no-cost version. Well, not until the sailing step, but you can create it and package it. In this Hackster project I showed you how using the IP Creator Wizard, you can create an AXI4 IP, and add it to a block design but, a graphical interface like that is useful for a few IP, but if you need to create different IPs, of update them for different Vivado versions, you need to improve that process, and the best way to do it is by creating a script so if you are running a company that develops IPs, and you want to know how to do it professionally, here you will find a process that will help you.
First of all, in the tcl file, we are going to define some variables. These variables will be used to define from the IP name to the location of the IP generated. The idea with this piece of code is that, in case you want to re-use the script for any other IP, you just need to modify these lines,
set projectDir ../project
set projectName ohsim_boost_ip
set srdDir ../v
set xdcDir ./
set ipName ohsim_boost
set ipDir ../../ohs_vivado_ip_repo/ohsim_boost_v1_0
set vendor OHSim
set library models
Now we need to create a new project. In Vivado, the IP creation process is all made inside a new project. Then, when the IP is created, this project can be deleted. To create an IP project, the commands in TCL are the same as for any other project.
## Create project in ../project
create_project -force $projectDir/$projectName.xpr

## Set verilog as default language
set_property target_language Verilog [current_project]
Once the project is created, we need to add the source files used for the IP. I have added each file in a new line, but you can change the code and add all the files located in a folder. In this case, I have to add the file of the model, the AXI4 communications module, and the wrapper.
## Adding verilog files
add_file [glob $srdDir/axi_ohs_boost_comm.v]
add_file [glob $srdDir/ohs_boost_model.v]
add_file [glob $srdDir/axi_ohs_boost_wrapper.v]
Now we need to define the IP data. This is here where we are going to use the variables declared in the top of the script. Also, we can modify this code for each IP, for example, the description field in this case is written in these lines.
set_property name $ipName [ipx::current_core]
set_property display_name $ipName [ipx::current_core]
set_property description {$vendor Boost model IP v1.0} [ipx::current_core]
set_property vendor_display_name {$vendor} [ipx::current_core]
set_property company_url http://doc.openhardwaresimulator.com [ipx::current_core]
The goal of this article is to generate an IP with a professional appearance, so the logo of our company has to be shown in the block design when we add our IP. Adding the logo is something that is not as clear as adding a description or a webpage. To add the logo we need to add a new file group, then add the logo, and finally change the type of the file to LOGO. The next TCL code makes exactly this. In addition, I have added the file copy instruction to copy the logo to the output folder.
file copy -force ./logo_ip.png $ipDir
ipx::add_file_group -type utility {} [ipx::current_core]
ipx::add_file ./logo_ip.png [ipx::get_file_groups xilinx_utilityxitfiles -of_objects [ipx::current_core]]
set_property type LOGO [ipx::get_files logo_ip.png -of_objects [ipx::get_file_groups xilinx_utilityxitfiles -of_objects [ipx::current_core]]]
The next commands are in charge of generating the corresponding files for the IP. Just need to add them to your script.
set_property core_revision 1 [ipx::current_core]
ipx::create_xgui_files [ipx::current_core]
ipx::update_checksums [ipx::current_core]
ipx::check_integrity [ipx::current_core]
ipx::save_core [ipx::current_core]
At this point, your IP is created under the $vendor name. Now, the next step is adding this IP to a design where we need it. Initially, the IPs that we can find in the catalog are the default IPs, so, if we want to see our IPs, we need to add our IP repository, which is essentially a folder where we can find all the IPs we have created. For the IP we just created, the directory is defined by the variable ipDir whose value is the folder /home/pablo/git/ohs/ohs_vivado_ip_repo. To add this IP Repository to the Vivado project, we need first, add the repository, and later, update the IP catalog to add the new IPs. The TCL commands to do this are the next.
set_property  ip_repo_paths  /home/pablo/git/ohs/ohs_vivado_ip_repo [current_project]
update_ip_catalog
By following all the steps of this article, you will find your IP in the IP Catalog of the project.

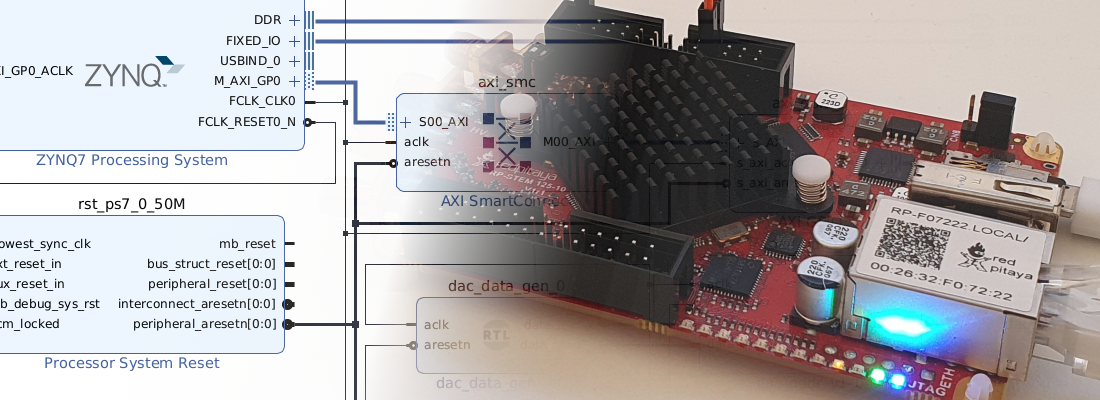
Then, by adding the IP to the Block Design, we will see the IP with the logo.

The work flow I suggested in this article is valid for many different cases, and it can be adapted for different IPs by changing a few lines of the script. This workflow can be completed generating the IP script automatically from a JSON or XML file where, for example, the update of the IP version will be done automatically.