Implementing FPGA designs in the cloud
If you are working with FPGA, maybe you use different environments to write your code and implement your design or perform continuous integration (CI/CD). In my case, in my job, I use a Windows PC to write the code and document it, and a remote machine with Linux to implement my design and execute some automated tasks. I can do this because we have a couple of servers in the company to do this, but usually, we only have one computer to write the code and implement it. Working with a single PC is inefficient because the requirements of a computer to write code and write documentation are less than the requirements needed to implement a design, so have two options, have an overpowered, which meets the requirements for implementing a design, or a pc with the requirements for write code and document, that spends much time to implement a design. Also, you can have a balanced computer, that the one I have at home, which is a bit overpowered for writing code and blog articles, but it has power enough to implement a design in an acceptable time. But if we are looking to be efficient since our salaries depend on that, definitely two different computers are the best choice.
In a professional environment, two different computers are two devices that we have to maintain and also two different devices consuming electricity, which is an extra cost. In addition, these machines will be turned old in a few years, so we also have to add the cost of renewing that machines every 5 or 7 years. The third option we have, which fixes some of these problems, keeps the computers for writing code and emails and the implementation machines in the cloud. This allows us to pay only for the time that we are using the implementation machines, and allow us to adapt the machine exactly to our needs in each case.
In this article, I am going to talk about Google Cloud Shell, a free cloud shell with 5 GB of non-volatile storage which will be enough for many projects. The working flow is almost the same if we are using another kind of virtual machine with more power, so this article might be used as a reference.
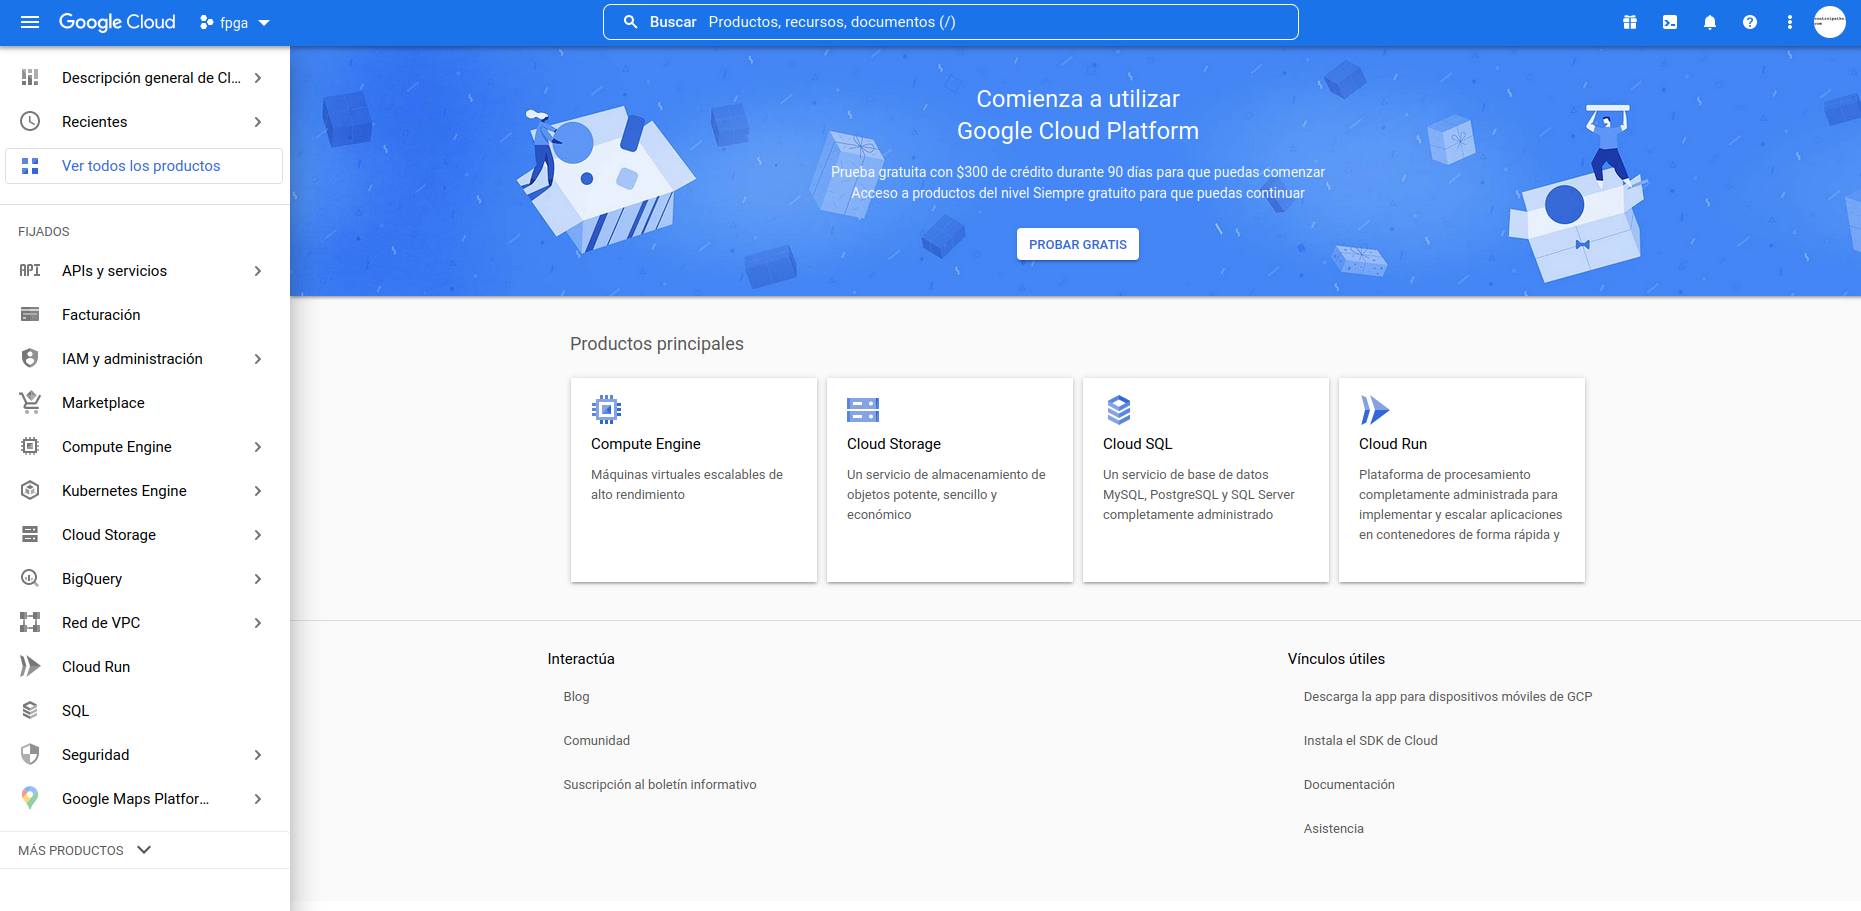
First of all, we need to create a Google cloud account in cloud.google.com, then, once the account is created, you will see the main window of Google cloud.
I have also created a project named fpga to enable other different features, but for this article, a project is not needed. Next, on the top right of the window, we can see the icon of the Google cloud shell, which is a complete shell in a remote virtual machine hosted on Google’s servers.
When we click on the Cloud Shell icon, a shell will be opened. If you have a project created, the shell will show something like this. if you do not have a project created, the output of the terminal will be similar without references to the project.
At this point, we have a remote machine running. This remote machine has some limitations. The first one is the space we have available on the hard disk, which is only 5 GB (remember that this is a free version), and the second one is that only one thread will be available. For many purposes like unit testing of modules, 5 GB is far enough, but if you want to perform a simulation of the entire system or implementation of a medium design, you will need to change your account to a complete account and pay for it for increase the size of the hard disk and also use more than one thread.
As I mentioned before since we only have 5 GB on the hard disk, we must forget to install Vivado, but fortunately, Vivado is not the only option. As we have seen in this blog, we can use the toolchain F4PGA to implement designs for Xilinx 7 series FPGA. Also, in that article, we have seen how we can use a container to execute it. The really good part of Google Cloud Shell is that it comes with Docker pre-installed, so we can use it to create an F4PGA environment.
pablo@cloudshell:~ (fpga-364317)$ docker -v
Docker version 20.10.21, build baeda1f
This time we are not going to create the docker image from zero, but we are going to use a prebuilt image with all the tools installed. We might download the image from hdl.github.io, a repository of images with several FPGA tools installed like F4PGA for implementation, iverilog or verilator for simulation. If we navigate to the F4PGA images, we can see several images with their size. We can select the image according to the part we need are using. For the Arty board, for example, the image conda/f4pga/xc7/toolchain will be enough. When we click on the image, we will see that the image is stored in google cloud (the circle is closed). Then, on the right of the image, there are 3 points. If we click over them, we can see that, for the free version of Google Cloud, all the options except one are greyed, the only option available is which let us see the command to download this image, and also there is an option to execute that command directly on Google cloud shell. If we already have a Google cloud shell opened, we can copy the command and paste it into the terminal, but if we execute the command directly, the instance of the shell will be the same. In any case, the output of the terminal will be the next.
pablo@cloudshell:~$ docker pull gcr.io/hdl-containers/conda/f4pga/xc7/toolchain:latest
latest: Pulling from hdl-containers/conda/f4pga/xc7/toolchain
e9995326b091: Pull complete
154e7aaac0e0: Pull complete
be846ce6e85d: Pull complete
a1bdf656600c: Pull complete
96bbfd278410: Pull complete
Digest: sha256:bf039c8874bd563f533a6d33c334980902448921428a450367b5428bfaffdf38
Status: Downloaded newer image for gcr.io/hdl-containers/conda/f4pga/xc7/toolchain:latest
gcr.io/hdl-containers/conda/f4pga/xc7/toolchain:latest
Once the image is downloaded, we can create a container using that image by running the command docker run -it.
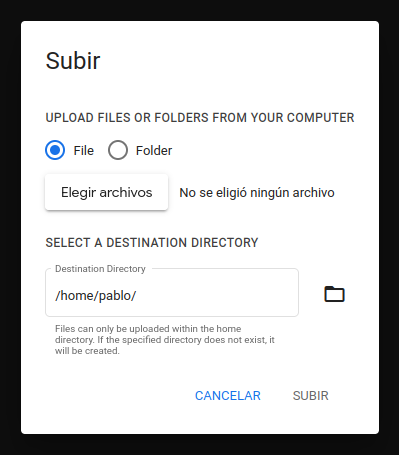
On this container, we have all the needed dependencies to use F4PGA, but we do have not the files to implement the design. To upload files, in the Google cloud shell window, we have to click over the three points in the top right of the window and select Upload.
In this window we can select the source and destination folder, then the files will be uploaded.
pablo@cloudshell:~$ ls
README-cloudshell.txt  volume_control
Now, we need to create a container adding a shared volume to let the container access the host folder.
pablo@cloudshell:~$ docker run -it --name f4pga -v ~/volume_control:/volume_control 08585f926121
(xc7) root@9eab6b6b4700:/# ls
bin   dev  home  lib64  mnt  proc  run   srv  tmp  var
boot  etc  lib   media  opt  root  sbin  sys  usr  volume_control
Once we have all the files of the project accessible from the container, we can launch the implementation.
Executing the implementation of an FPGA design in the cloud is very useful when we are working from a very limited computer or even a Single Board Computer (SBC) like Raspberry Pi or Lite Panda. Also, for large designs, if we want to use our computer for any other tasks while the implementation is running, we can use a Google cloud instance to run the implementation while we are working on the documentation of the project. But when these kinds of tools are very useful, is in automated verification tasks. We might have a VM configured and run it when a new commit is uploaded to the repository, then all the tests are run in this virtual machine.


